Firebase feat React 簡易教學 (二):在網頁接收 Messaging

Firebase 系列文的第二篇,之前寫過【如何在 React 專案中接收 Notification】,這篇文章有點像,只是不使用 cra-template-pwa,而是完全的只用 Firebase 提供的功能
前置作業
如果還沒有建置專案及安裝 Firebase SDK 的話,請先參考【Firebase feat React 簡易教學 (一):簡介&快速 hosting 新網站】
產生 雲端通訊 網路推播憑證金鑰
到「專案設定」=>「雲端通訊」

到「網路設定」=>「網路推播憑證」,點選「Generate key pair」
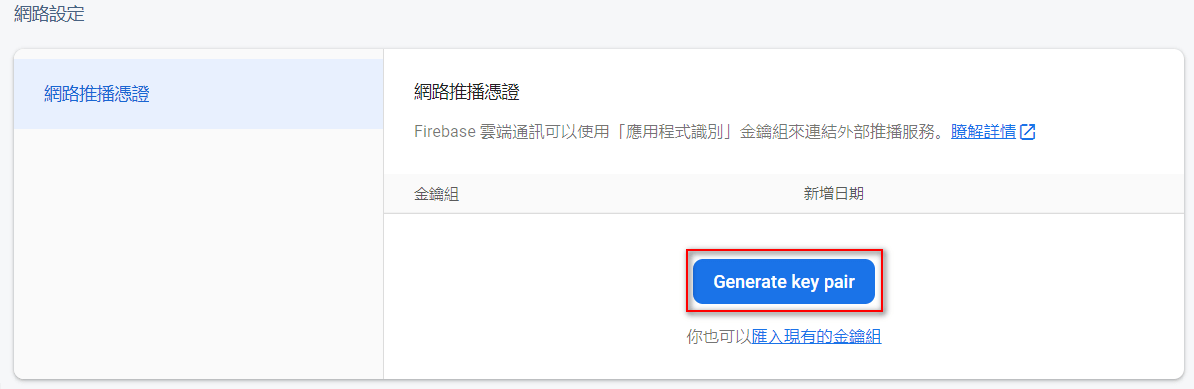
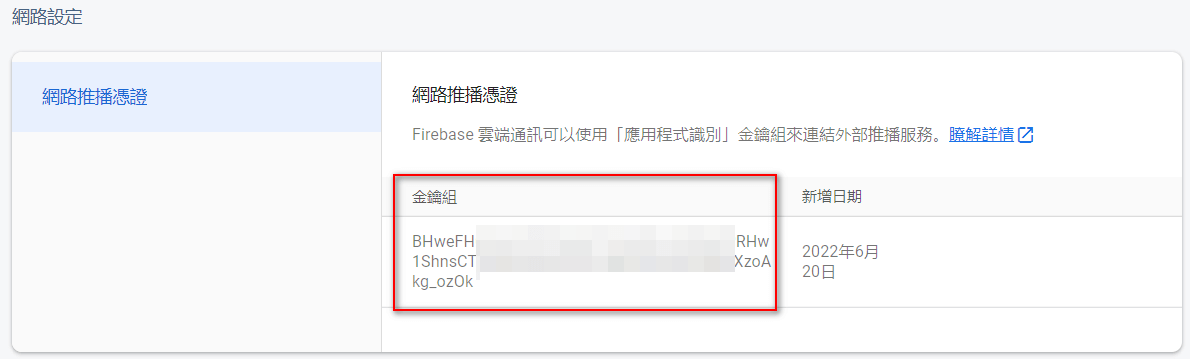
裝會產生一個金鑰組
然後同樣在 App.js 加入以下 code
import { getMessaging, getToken } from "firebase/messaging";

// messaging
const messaging = getMessaging();
const vapidKey = 'BHweFH.......................'
getToken(messaging, { vapidKey: vapidKey }).then((currentToken) => {
  if (currentToken) {
    // 取得 currentToken,需傳回 server
    console.log('get currentToken');
    console.log(currentToken);
  } else {
    console.log('No registration token available. Request permission to generate one.');
  }
}).catch((err) => {
  console.log('An error occurred while retrieving token. ', err);
});
- vapidKey 就是剛才產生的金鑰組
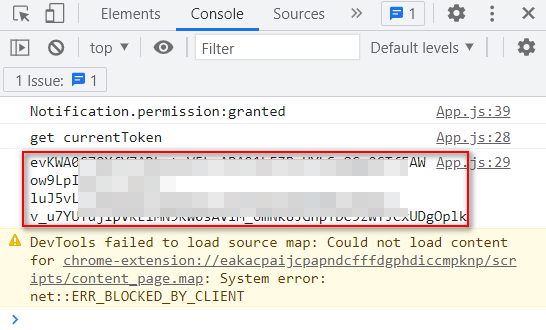
- 這份程式會印出 currentToken 的值,這個值每個使用者每個瀏覽器都不一樣,一般來說要把這個值傳回 server 存起來,然後再依照存下來的 token 發送訊息,這裏簡化起見,僅先印出來
打開專案首頁,叫出 Chrome DevTools,就可以看到印出來的 token
建立 Listener
Firebase 有自己的 service worker,檔名叫做firebase-messaging-sw.js,位置在根目錄下,這裏踩了點雷,需要注意
- 這個檔案不會自動產生,需要手動建立,然後根目錄以 React 來說,就是放在 public 目錄下,而非 src 目錄
- 因為不是放在 src 下,所以語法不太一樣,不能直接用 import ...etc
將以下程式寫入 firebase-messaging-sw.js,這段程式會去監聽 BackgroundMessage,也就是只要瀏覽器開著,即使沒上連上網站,也能收到訊息
// Scripts for firebase and firebase messaging
importScripts('https://www.gstatic.com/firebasejs/8.2.0/firebase-app.js');
importScripts('https://www.gstatic.com/firebasejs/8.2.0/firebase-messaging.js');

const firebaseConfig = {
	....
};

firebase.initializeApp(firebaseConfig);

// Retrieve firebase messaging
const messaging = firebase.messaging();

messaging.onBackgroundMessage(function (payload) {
    console.log('Received background message ', payload);
});
然後 App.js 也增加以下 code,這段程式會監聽在網站開啟時,傳送訊息會在左下角跳出小視窗
import { onMessage } from "firebase/messaging";

onMessage(messaging, (payload) => {
  console.log('Message received. ', payload);
  const notificationTitle = 'Message Title';
  const notificationOptions = {
    body: 'Message body.',
    icon: '/logo192.png'
  };
  new Notification(notificationTitle, notificationOptions)
});
傳送訊息
整理兩種方法
由 Firebase 界面傳送訊息
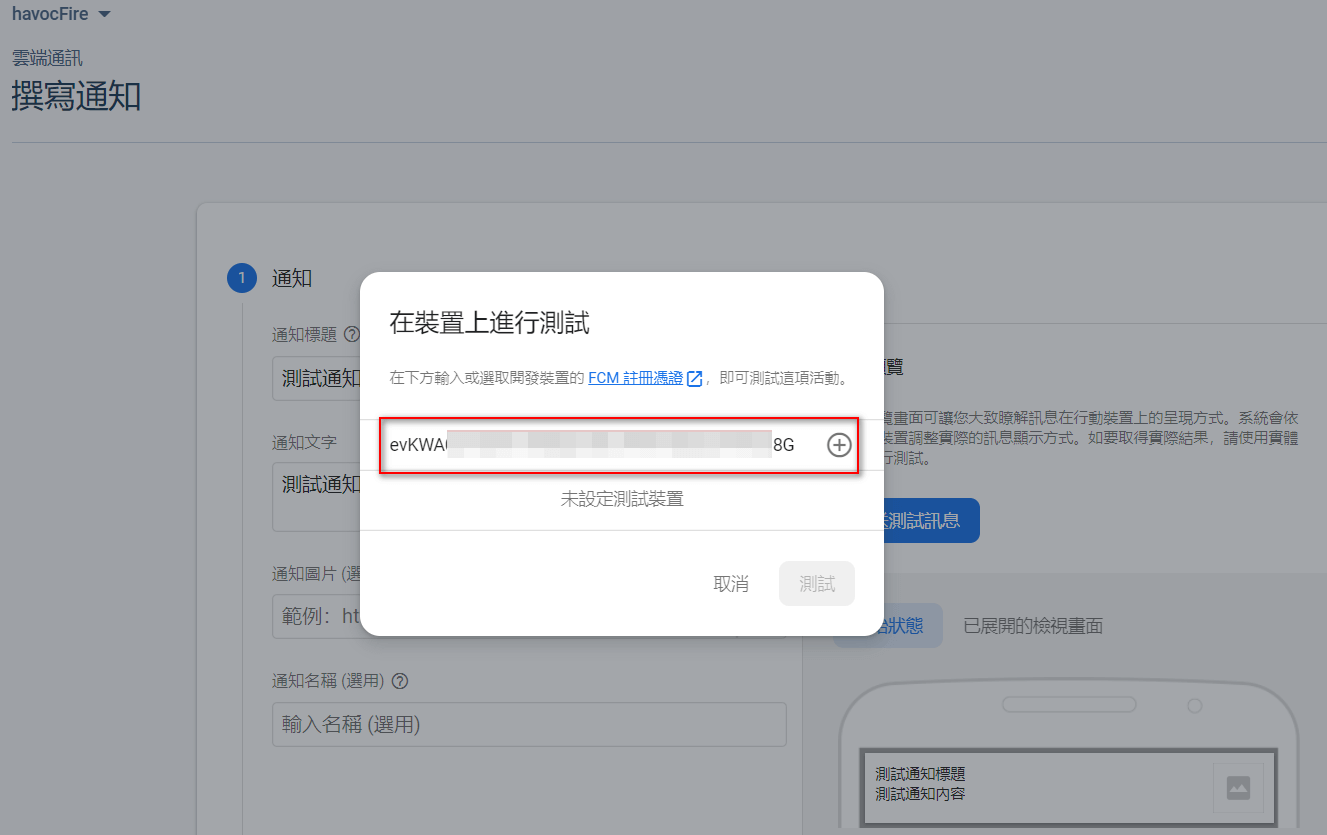
Firebase 界面本身就提供傳送訊息的功能,到左側 menu 的「Cloud Messaging」,選功能「撰寫通知」,填入標題和文字,然後點選「傳送測試訊息」
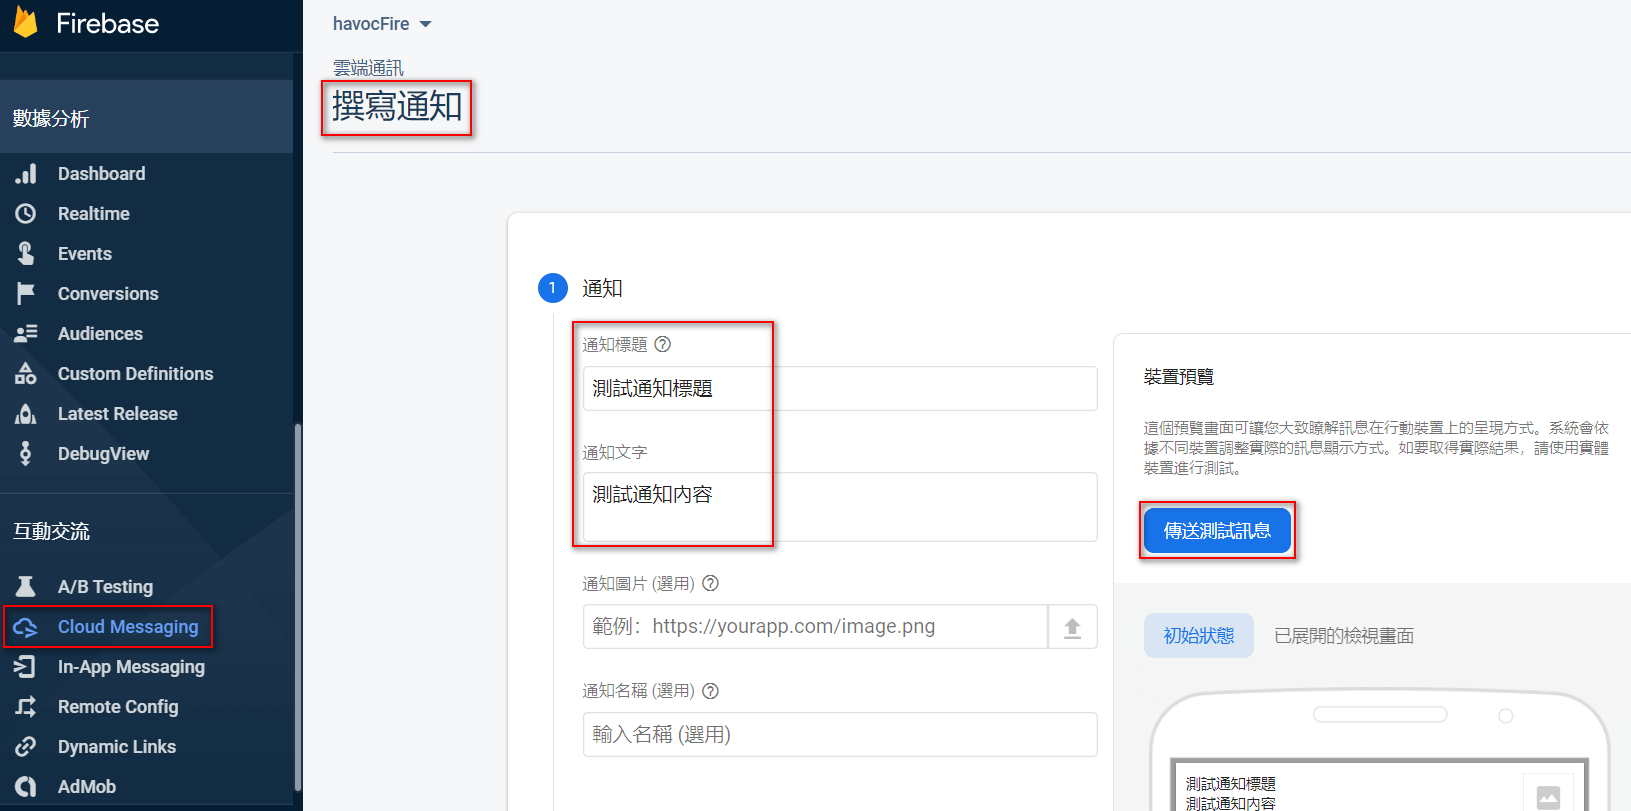
這時會要你輸入 FCM 註冊憑證,這個憑證就是上面說的要傳回給 server 的 token,一般的做法是 server 會將這些 token 存在 DB 中,發送訊息就會依據這些 token 發送, 這裏只需要填入剛才的 token ,然後點選發送就可以看到收到訊息了
使用 googleapis 傳送訊息
在實務上應該不可能用界面來發送,而且透過程式來傳送訊息,我是另外開一個小專案來測試傳送,程式不難,直接上程式碼
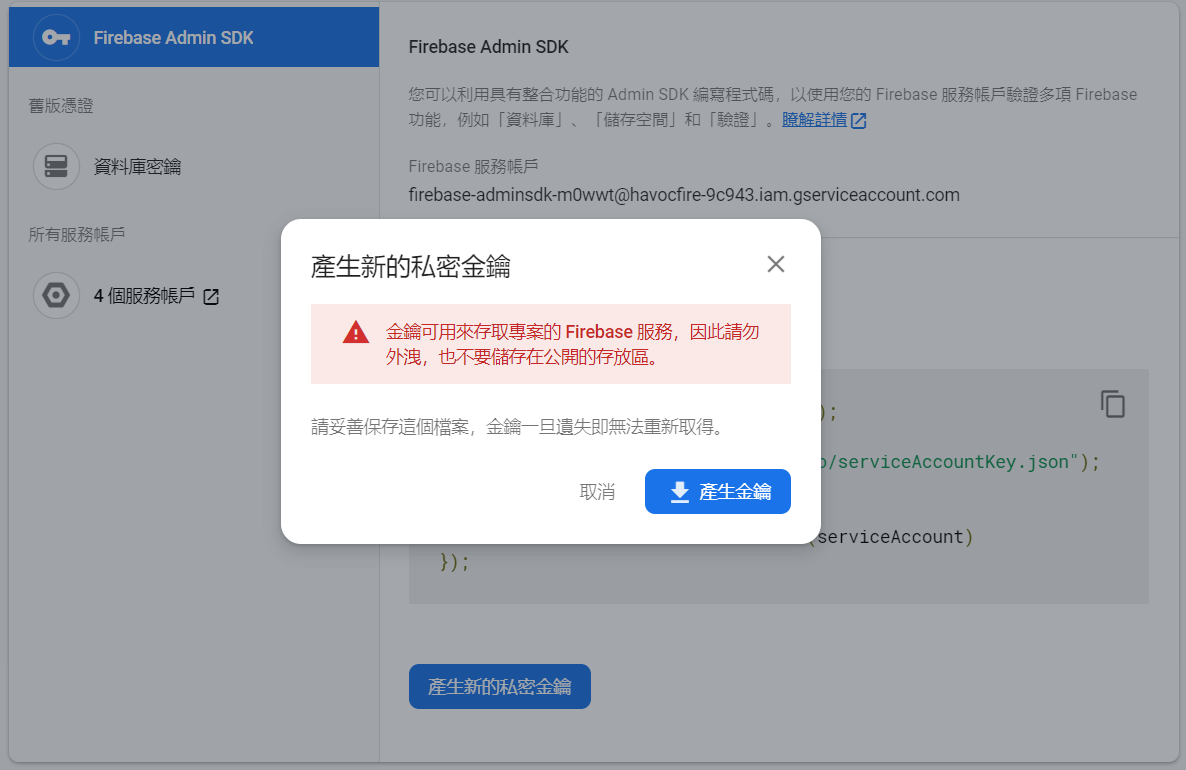
先到「專案設定」=>「服務帳戶」

然後產生私密金鑰,然後就可以下載個 json 檔。注意:如說明,金鑰是用來存取專案的權限,請勿儲放在公開的存放區
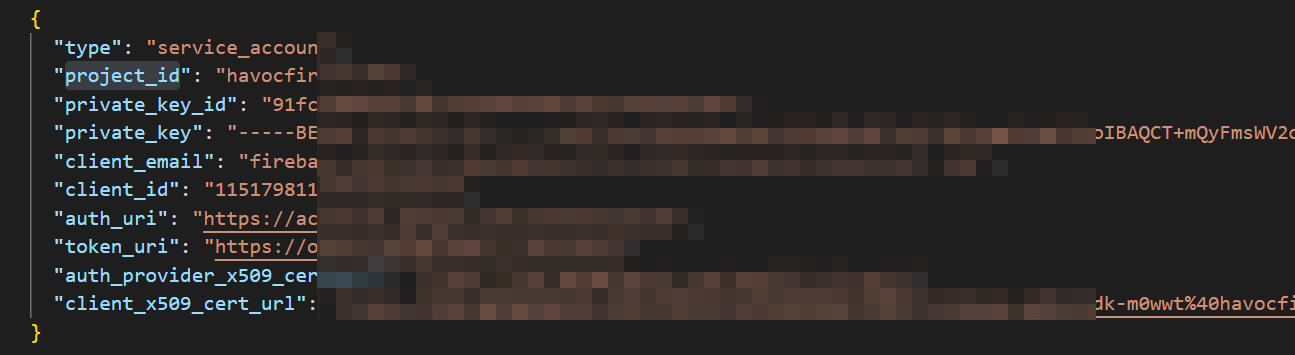
下載回來的 json 檔大概長這樣
然後在要放送訊息的專案,安裝 googleapis 和 google-auth-library
npm install googleapis
npm install google-auth-library
傳送訊息程式碼如下,這是 firebase 的 sample code,但我寫這篇文章的時候又找不到原文在哪裏,還好之前有先複製下來
const https = require('https');
const { google } = require('googleapis');

const key = require('./下載回來的私密金鑰檔案.json');
const PROJECT_ID = key.project_id;
const HOST = 'fcm.googleapis.com';
const PATH = '/v1/projects/' + PROJECT_ID + '/messages:send';
const MESSAGING_SCOPE = 'https://www.googleapis.com/auth/firebase.messaging';
const SCOPES = [MESSAGING_SCOPE];

const token = "要傳送的瀏覽器 token";

/**
 * Get a valid access token.
 */
function getAccessToken() {
    return new Promise(function (resolve, reject) {
        const jwtClient = new google.auth.JWT(
            key.client_email,
            null,
            key.private_key,
            SCOPES,
            null
        );
        jwtClient.authorize(function (err, tokens) {
            if (err) {
                reject(err);
                return;
            }
            console.log(tokens.access_token);
            resolve(tokens.access_token);
        });
    });
}

/**
 * Send HTTP request to FCM with given message.
 *
 * @param {object} fcmMessage will make up the body of the request.
 */
function sendFcmMessage(fcmMessage) {
    getAccessToken().then(function (accessToken) {
        const options = {
            hostname: HOST,
            path: PATH,
            method: 'POST',
            // [START use_access_token]
            headers: {
                'Authorization': 'Bearer ' + accessToken
            }
            // [END use_access_token]
        };

        const request = https.request(options, function (resp) {
            resp.setEncoding('utf8');
            resp.on('data', function (data) {
                console.log('Message sent to Firebase for delivery, response:');
                console.log(data);
            });
        });

        request.on('error', function (err) {
            console.log('Unable to send message to Firebase');
            console.log(err);
        });

        request.write(JSON.stringify(fcmMessage));
        request.end();
    });
}

function buildCommonMessage() {
    return {
        "message": {
            "token": token,
            "notification": {
                "title": "FCM Notification",
                "body": "Notification from FCM"
            }
        }
    }
}

sendFcmMessage(buildCommonMessage());
測試成功,就像使用 Firebase 界面傳送訊息,可成功接收到傳送的訊息
