Jenkins 安裝 & 整合 Bitbucket 筆記

幾天前公司 build server VM 掛點,雖然後來搶救回來,但在搶救回來之前以防萬一還是研究了一下怎麼重新安裝 Jenkins,筆記如下
VM環境
Ubuntu 18.04
JDK 8
Jenkins 使用預設版本 2.289.3
安裝 JDK 8
因為 Jenkins 是以 JAVA 編寫的,所以需先安裝 JAVA環境,原本的版本較舊用的是 JDK8,暫不升級
sudo apt install -y openjdk-8-jdk
設定環境變數
sudo gedit /etc/profile
編輯內容,增加在檔案底部
JAVA_HOME=/usr/lib/jvm/java-8-openjdk-amd64
PATH=$PATH:$HOME/bin:$JAVA_HOME/bin
export JAVA_HOME
export PATH
立即生效
source /etc/profile
安裝 Jenkins
參考 Jenkins 官網
wget -q -O - https://pkg.jenkins.io/debian-stable/jenkins.io.key | sudo apt-key add -
sudo sh -c 'echo deb https://pkg.jenkins.io/debian-stable binary/ > \
    /etc/apt/sources.list.d/jenkins.list'
sudo apt-get update
sudo apt-get install jenkins
啟動 Jenkins
sudo systemctl start jenkins
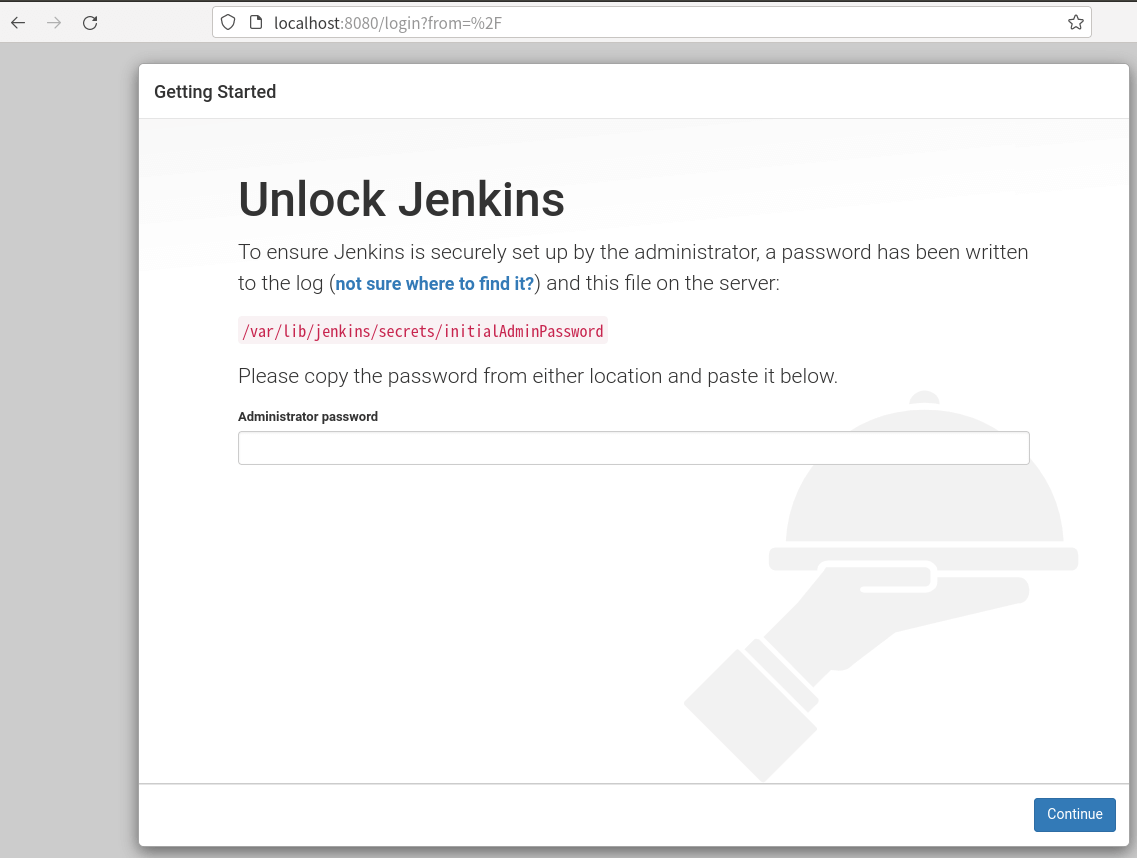
第一次啟動需要去 /var/lib/jenkins/secrets/initialAdminPassword 查初始密碼
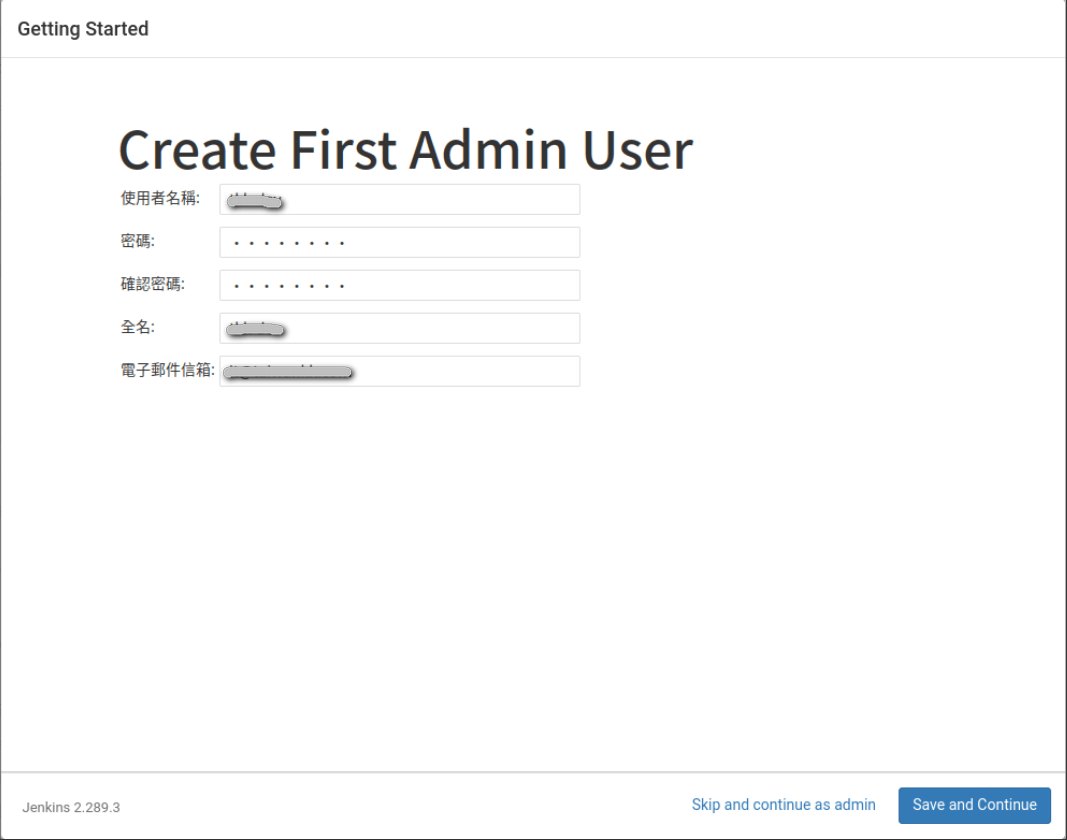
自行設定帳密
安裝 Git
踩雷: 需先安裝 git,否則整合 bitbucket 會一直顯示連線失敗,但不會顯示未安裝 git
sudo apt install git
建立 SSH Key
執行 ssh-keygen,passphrase 自行設定
會在 /home/[username]/.ssh/ 目錄下產生兩個檔案 id_rsa, id_rsa.pub
Jenkins 整合 Bitbucket
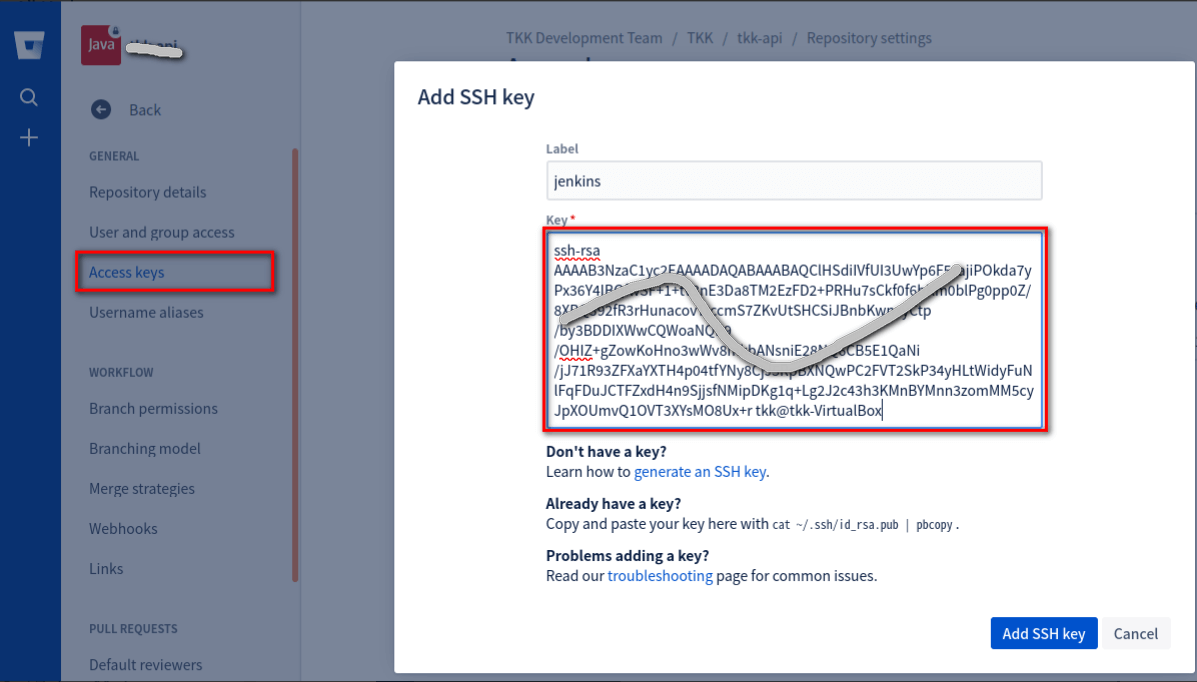
Bitbucket 新建 Access key
Key 內容將 server 的 /home/[username]/.ssh/id_rsa.pub 內容複製貼上
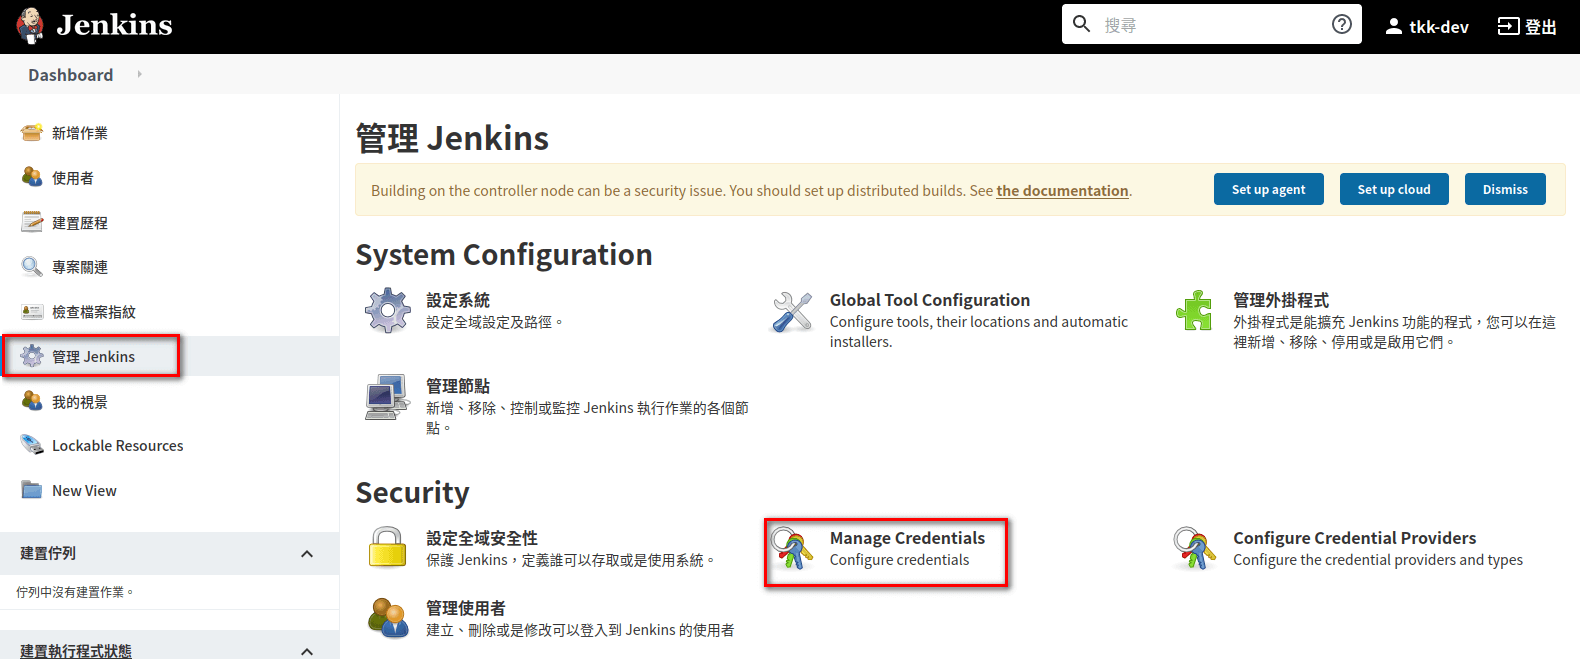
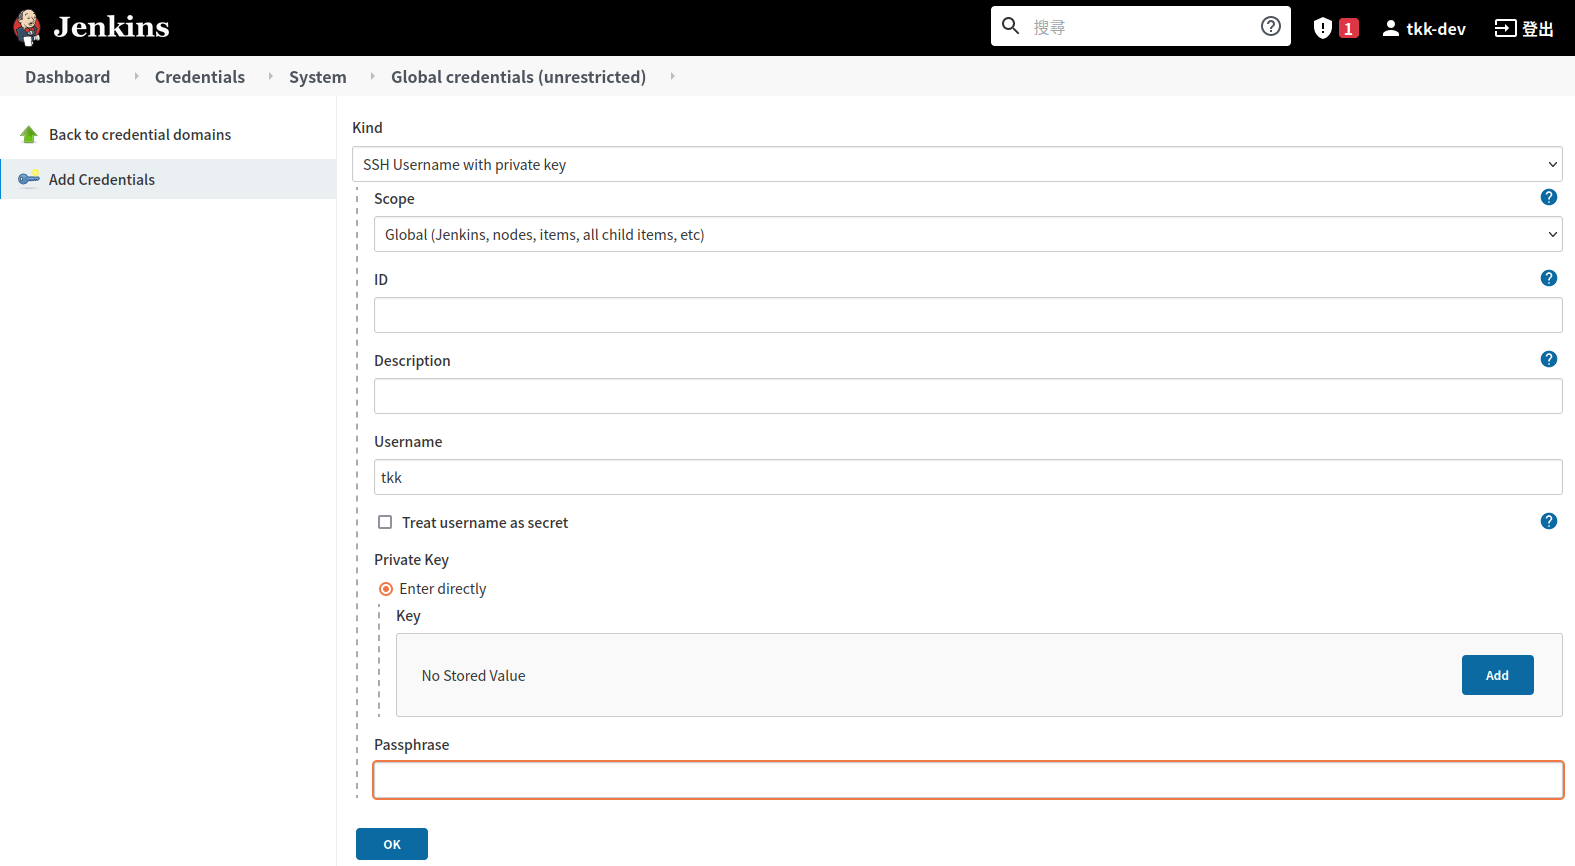
Jenkins 建立 Credentials
Kind 選 「SSH Username with privarte key」
Username 填 Jenkins 那台server 的 username
Private Key 複製貼上 /home/[username]/.ssh/id_rsa 內容
Passphrase 填 產生 ssh key 時的密碼
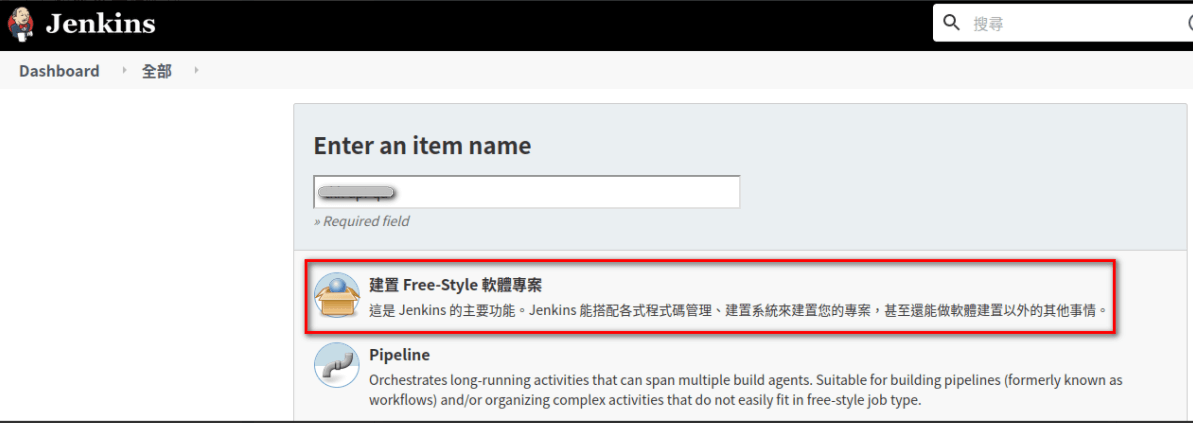
Jenkins 新增作業
選建置 Free-Style 軟體專案
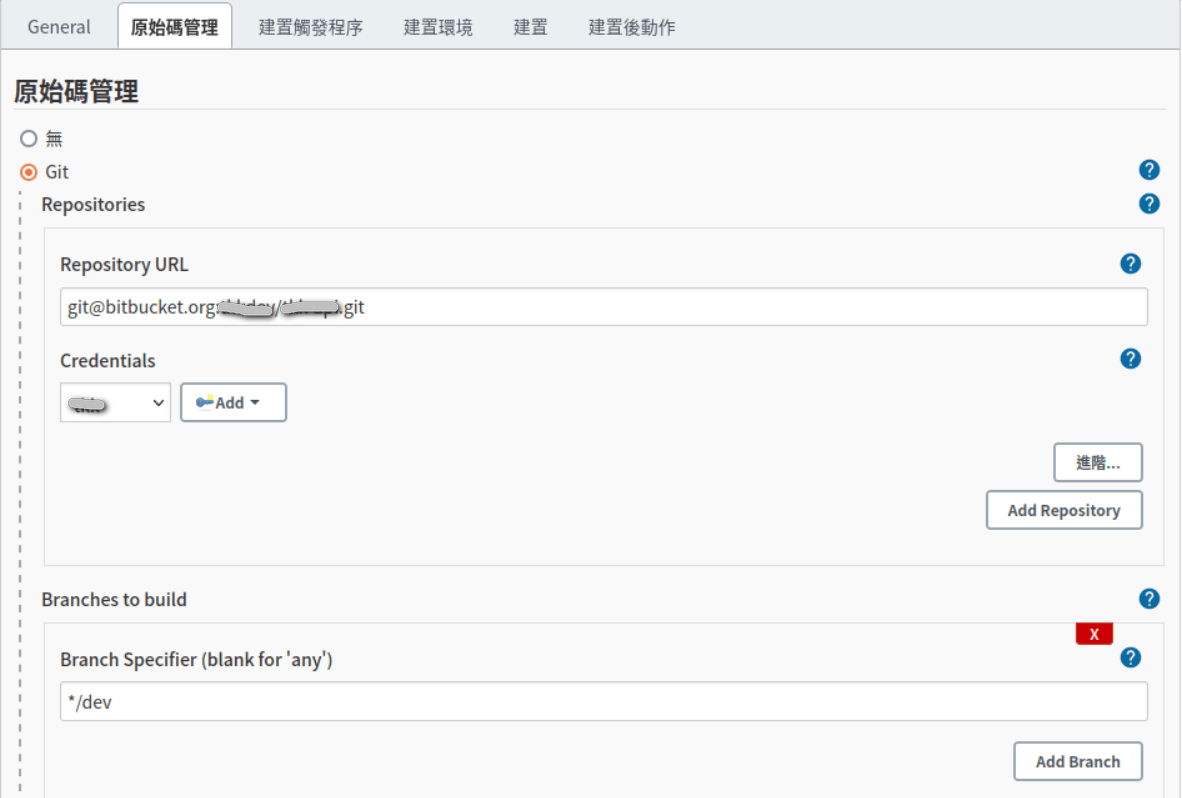
組態設定: 原始碼管理
Repository URL 填 git@bitbucket.org:[workspace]/[repository].git
Credentials 選剛才設定的 username
執行「建置」,成功捉到 Bitbucket 資料,設定成功 !!
